


![Top 9 Real Estate Mobile App Developers in Riyadh, Saudi Arabia [2025 Edition]](https://www.biphoo.uk/uploads/images/202507/image_430x256_6879d0d524335.jpg)


Embroidery Digitizing vs. Vector Art: What’s the Difference?
Confused about embroidery digitizing vs vector art? Learn how these two processes differ and when you need each one for your custom apparel projects
Introduction
You've got a killer logo ready for your team jerseys or company polos. But when you send it to the embroiderer, they hit you with: 'We need this to go through Embroidery Digitizing first.' Wait - isn't your crisp vector file good enough?
Here's the truth bomb: vector art and Embroidery Digitizing might both involve your logo, but they're completely different animals. One is made for print, the other for stitches. Get this wrong and you'll end up with a puckered, thread-bare mess instead of that pro-grade embroidered look.
Let's break down exactly how Embroidery Digitizing differs from vector art, when you need each one, and how to get the best results for your project.
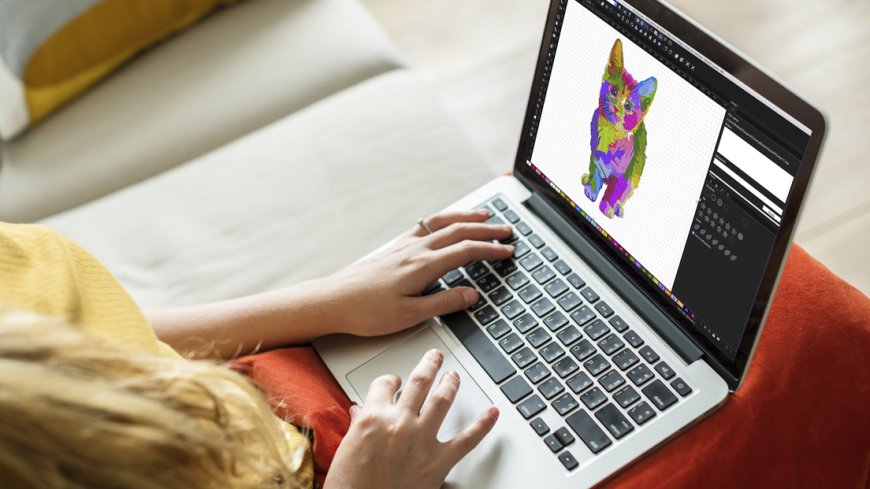
The Core Difference: Stitches vs. Pixels
Vector Art (For Printing)
-
What it is:Mathematical paths and curves that create infinitely scalable artwork
-
File types:.AI, .EPS, .SVG
-
Best for:Screen printing, vinyl cutting, digital printing
-
Key trait:Smooth color gradients and razor-sharp edges
Embroidery Digitizing (For Stitching)
-
What it is:Instructions telling an embroidery machine how to sew your design
-
File types:.PES, .DST, .EXP
-
Best for:Any embroidered apparel or accessories
-
Key trait:Converts artwork into stitch types and paths
Why You Can't Just Use Your Vector File for Embroidery
That perfect vector logo that looks amazing on your business cards? It'll likely fail as embroidery because:
-
Stitches can't do gradients- Your smooth color fade becomes solid blocks
-
Small text disappears- Letters under 1/4" turn to blurry mush
-
Complex shapes pucker- Too many stitch direction changes distort fabric
-
Fine lines break- Thin vector strokes may use just 1-2 stitches
Real-world example:The Starbucks logo requires 12 different thread colors and specialized stitch patterns when digitized for embroidery versus the simple vector version used in print.
The Digitizing Process: How Vector Becomes Stitches
Professional digitizers transform your vector art by:
-
Simplifying the design- Removing gradients, reducing colors
-
Mapping stitch types:
-
Satin stitches for borders/text
-
Fill stitches for solid areas
-
-
Setting stitch direction- Preventing fabric distortion
-
Adding underlay- Stabilizing stitches
-
Optimizing jump stitches- Minimizing thread trims
Pro Tip:Good digitizers will ask about your specific garment type (hats vs polos) because each requires different settings.
When You Need Vector vs. Digitized Files
Reach for Vector Art When:
? Printing on paper or fabric
? Creating signs or banners
? Need infinite scalability
? Want to edit colors easily
You Must Have Digitized Files When:
? Embroidering on any fabric
? Need stitch-perfect branding
? Want durable, textured designs
? Working with embroidery machines
Cost Comparison
| Service | Average Cost | Turnaround Time |
|---|---|---|
| Vector Creation | $25-$150 | 1-3 days |
| Embroidery Digitizing | $15-$100 | 24-48 hours |
| Combined Service | $50-$250 | 2-5 days |
Note:Many providers offer bundle discounts if you need both services.
DIY Options: Should You Try It?
Vector Creation Tools:
-
Adobe Illustrator(Professional)
-
Inkscape(Free alternative)
-
Canva(Beginner-friendly)
Digitizing Software:
-
Hatch Embroidery(Best for beginners)
-
Wilcom(Industry standard)
-
InkStitch(Free but technical)
Reality check:While you can DIY, professional services typically deliver better results for important projects.
How to Prepare Your Artwork
For Best Vector Results:
-
Provide high-resolution reference images
-
Specify exact colors (Pantone numbers if possible)
-
Note any special effects (glows, shadows)
For Best Digitizing Results:
-
Send vector files if available
-
Specify garment type (hats, polos, etc.)
-
Indicate desired size
-
Note any special techniques (3D puff, metallic thread)
Common Conversion Problems & Fixes
Problem:Embroidery looks nothing like original vector
Solution:Work with a digitizer who understands stitch limitations
Problem:Colors don't match between print and embroidery
Solution:Request physical thread charts for approval
Problem:Small details get lost in stitching
Solution:Simplify design before digitizing
Expert Tip: The Hybrid Approach
For projects needing both print and embroidery:
-
Create vector version first
-
Have it professionally digitized
-
Use both files as a matched set
-
Maintain consistency across all branded items
This ensures your logo looks its best in every medium.
Conclusion
Now you know why that perfect vector file doesn't automatically work for embroideryand what to do about it. Remember:
?Vector art= For printing (scalable, smooth)
?Digitized files= For embroidery (stitch-specific)
?Professional services= Worth it for important projects
?Preparation matters= Provide all specs upfront
Whether you're branding company polos or creating team uniforms, understanding this difference will save you from costly mistakes and ensure your designs look professional every time.